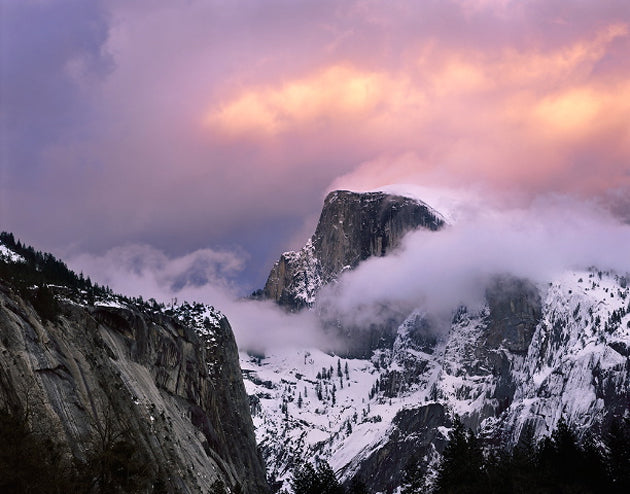
A photograph of Half Dome contains a surprising number of decisions. Where to stand. When to wait. What to leave outside the frame. Then comes the decision that viewers of a small glowing screen can easily overlook: what, exactly, should this thing look like on a wall?
West Coast Imaging built its reputation around that last question. Founded in 1997 by Rich and Susan Seiling in Oakhurst, California, the lab served photographers for whom a print was an object to exhibit or sell. Its story belongs to the transition between film and digital production, when an existing photograph could acquire a new set of possibilities without the photographer taking another exposure.
There is a date worth keeping in view. Susan Seiling says the founders closed their business in 2017 and moved to Tennessee. Today, the old domain leads to Bay Photo’s Metal & Paper page. Read this as the history of a particular photographic workshop, with an afterlife visible in artists’ print descriptions and a web address that now takes you somewhere else.
A Yosemite education, carried onto paper
Before the lab, Rich Seiling worked at The Ansel Adams Gallery. The gallery’s own account describes him as a fine-print curator and staff photographer. This is a useful place to begin. A curator spends time with the finished object: its tones, its surface, its physical presence. The print has to survive attention at close range.
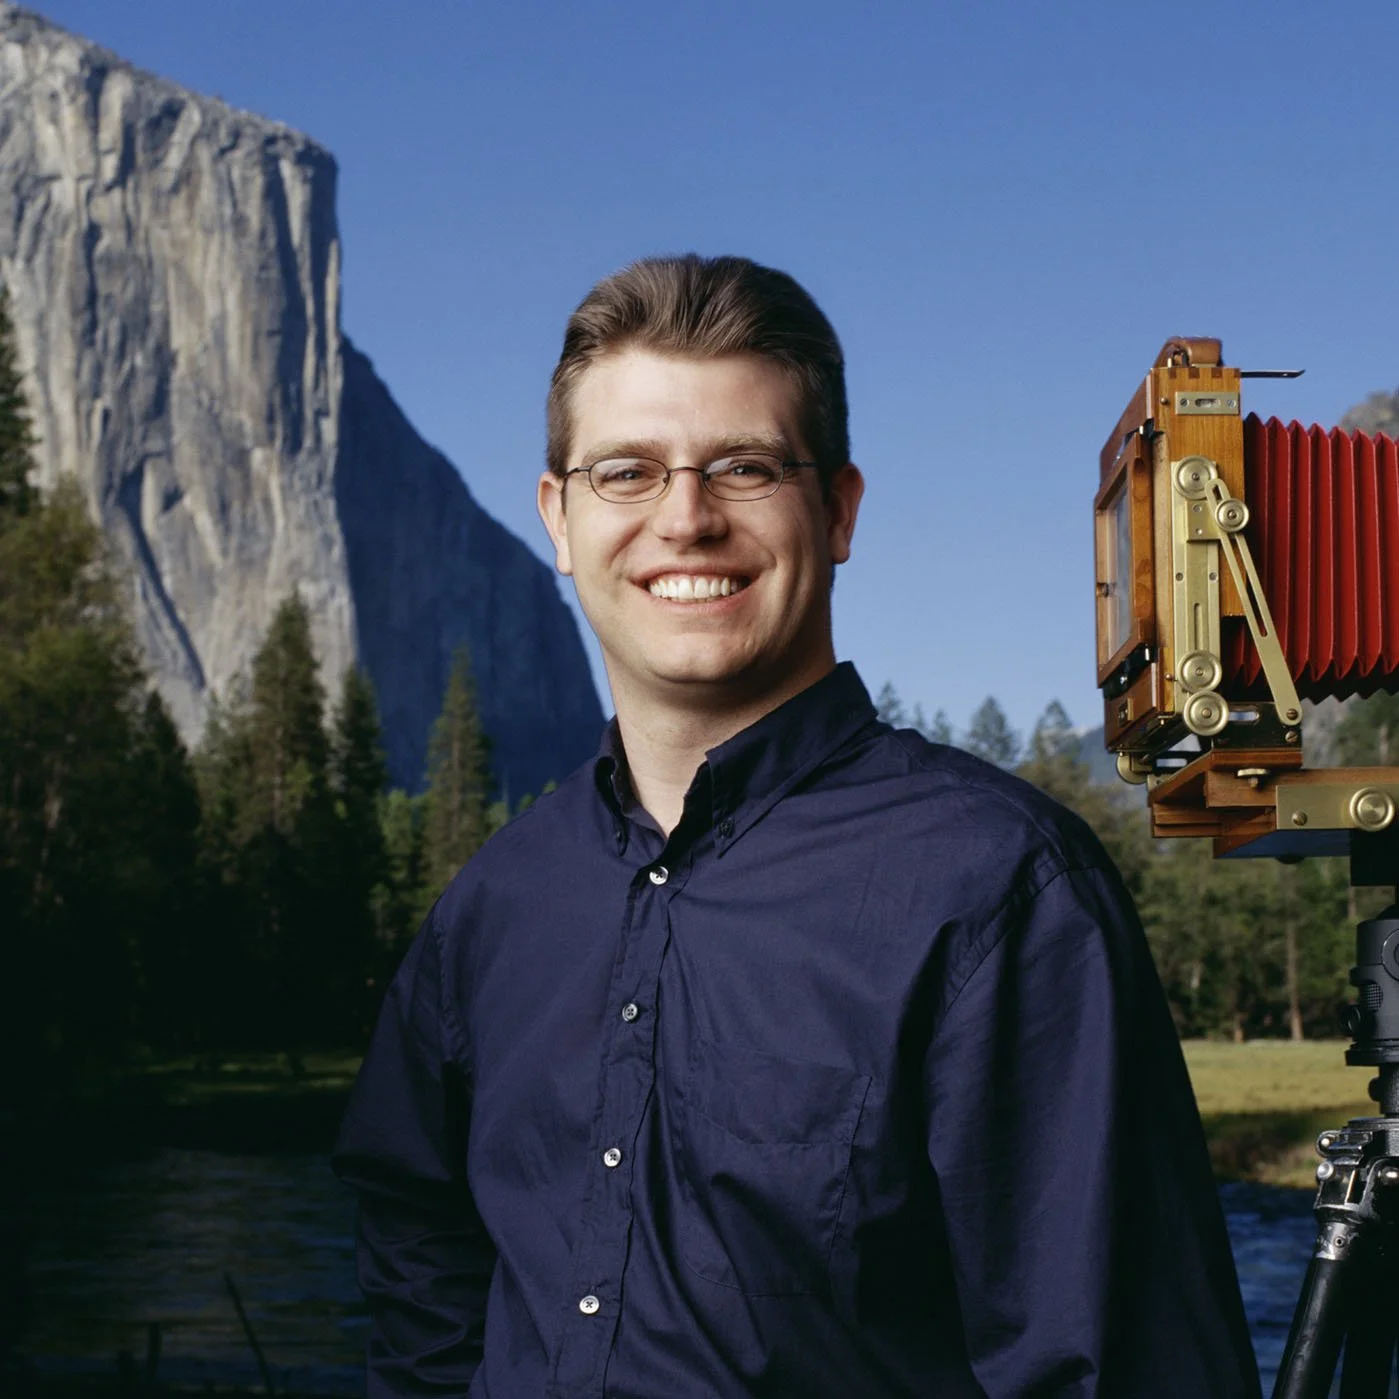
The gallery announced digital black-and-white workshops with Seiling for 2010. That pairing captures the lab’s position neatly. Digital tools were entering a craft with established standards and experienced practitioners. Learning new software did not remove the need to understand a print.
Seiling’s later workshop biography credits West Coast Imaging with helping Frans Lanting and Galen Rowell move from analog to digital printing. The important word is “move.” An artist could bring an existing body of film work into a different production process. The original photograph remained valuable; the route from original to finished print changed.
The film still had a job to do
Scanning was one of the lab’s bridges. Photographer Michael Frye wrote in 2010 that he used West Coast Imaging for all his drum scans. For a working photographer, this is a consequential division of labor: keep making and selecting pictures, and send the physical originals to people equipped to extract usable digital files.
A surviving scan page on the old domain, branded Metal & Paper, describes Heidelberg Tango equipment and individually adjusted files. It lists different film formats and output sizes. That menu is a reminder that “scan my photograph” is an incomplete instruction. Intended use matters. A file for a modest print and a file for a large enlargement place different demands on the process.
The practical lesson is to start with the destination. Decide how large the photograph needs to be and how it will be presented, then discuss the scan. Buying a larger file is a purchasing decision. Knowing why you need it is the photographic decision.
The cost of getting one frame ready
In a 2012 interview, Seiling recalled early digital setup costs above $300 for a single print. He described a custom workflow of adjustments, a mailed proof, and a conversation with the photographer, repeated as needed. The expense bought a process with room for judgment.
“Don’t expect to get it right the first time.”Rich Seiling · Pictureline, 2012
The surviving scan table offers a different kind of price: a defined file rather than a complete commissioned print. It lists a single small 35mm scan at $34.95 and a large one at $64.95. These are historical reference figures from an undated page, not current quotes.
Single 35mm scans · USD · historical listed prices
File sizes are the page’s labels. Printing is separate.
There is another price at the far end of the chain. Photographer Andrew Rhodes credits West Coast Imaging for acrylic face mounts and lists a 16-by-24-inch finished artwork at $440. That is the photographer’s retail guideline, not the lab’s production charge. Confusing the two would erase everything the photographer contributes before the order reaches a printer.
A surface is a creative choice
Customers’ own storefronts show what the lab helped produce. Csaba Vadász identifies Fuji SuperGloss for color photographs and Museo Silver Rag for black-and-white work. His site also describes museum-quality mounting materials and glass choices for exhibited pieces. The finished photograph arrives as a collection of decisions, each visible in the object someone takes home.
Rhodes’s acrylic offering occupies another part of this market: the photograph sold as a substantial display piece. In that setting, production is part of the artist’s promise to a buyer. A printer’s name in a product description becomes a quiet piece of reassurance.
The alternative might be a broader lab such as WHCC, which Rhodes identifies for his ordinary photo prints, or a photographer’s own printing setup. The distinction is the job being commissioned. A clearly specified file can travel through an ordering system. A picture whose final appearance still needs interpretation benefits from a conversation.
Give the next customer fewer decisions
West Coast Imaging’s related brand, Aspen Creek Photo, addressed a broader audience. In 2010, Frye introduced it to readers as a more affordable printing option and announced that selected weekly critique participants would receive a free 16-by-20-inch matted print. The relationship put a physical result beside an online discussion of photographic technique.
Seiling explained the two services through restaurant menus: extensive customization at West Coast Imaging, a more defined selection at Aspen Creek. Improving technology had made a wider customer base possible.
There is a useful business idea here. Expertise does not require every buyer to make every decision. Some customers arrive with precise preferences; others need an understandable starting point. A service can respect both groups by making the amount of consultation explicit. That is an interpretation of this two-brand approach, rather than a claim that it guarantees commercial success.
Make the small print earn its keep
Seiling’s teaching still gives proofing a prominent place. A Summit workshop listing describes making 10 to 20 proofs on the way to a final 13-by-19-inch print. Those are workshop expectations, not the old lab’s standard production count. They nevertheless make the point concrete: revision is something to schedule.
- 01Choose the destinationSize, surface, intended display.
- 02Make a proofPut a physical result in front of you.
- 03Name the changeDescribe what needs adjustment.
- 04Print, then reviewApprove the result before committing.
This approach asks something of the customer. Allow time for evaluation, and be willing to change the file. It is a poor fit for someone who needs an immediate, inexpensive batch and has no interest in individual refinement. Photographer Jim Doty’s printing advice adds a basic limit: an undersized file can disappoint when enlarged, regardless of the lab selected.
The present-day route is straightforward. Bay Photo’s destination page offers Metal & Paper customers paper, metal, acrylic and canvas products through its ordering system. The founders’ original business has its own ending. What remains useful is the habit it represented: leave enough time after taking the photograph to discover what the print needs.